Tuesday, July 30, 2013

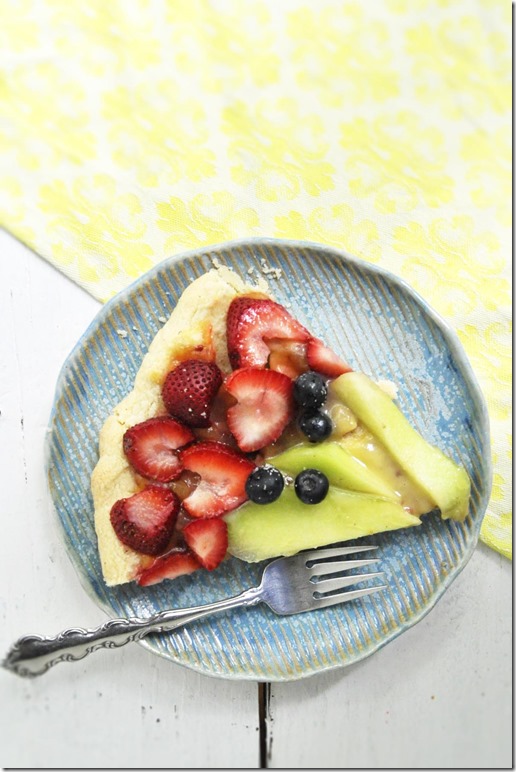
Gluten Free Fruit Pizza

This dessert pizza is perfection! It’s luxurious without being too overpoweringly sweet. You can also make great sugar cookies from the recipe for the crust. The dough gets really hard if you chill it, but the baked texture is light and airy. 

_DSC4542

Ingredients:

For cookie crust:

1 C (2 sticks) butter, room temp

1 C sugar (I use organic)

1/2 t salt

1 egg

1 t real vanilla extract

3 C gluten free all purpose flour blend

toppings:

1 15 oz jar lemon curd

2 T raspberry jam

assorted fresh fruit cut into artful shapes: any combo of berries, melon, pears, banana, kiwi

3 t granulated sugar

In large bowl or Kitchen Aid, cream butter, sugar, and salt until creamy and fluffy. Add eggs and vanilla and beat until batter is one consistency. Add flour a cup at a time beating on low until fully combined but don’t overbeat.

Pat into ball and into circle on floured board. Place in center of oiled 12” pizza pan, and press out to edges with a shallow lip on the rim. Bake at 350 degrees 12- 15 min until golden brown on edges. Remove from oven.

While crust is still warm, spread jam and lemon curd over surface. Fan fruit out in concentric circles- have fun and make it pretty!  Sprinkle sugar over fruit and broil for 3 min. Cut into wedges with pizza wheel and serve. It’s good warm or cold.

ALTERNATE: sugar cookies- mix the crust dough. Space cookies 2” apart on parchment papered cookie sheet. Bake 350 degrees for 7 – 12 min. Edges should be golden brown. Decorate as desired.

If you want the dinnerware plates from Lee Wolfe Pottery, check my website here.

Tuesday, July 23, 2013

New Business Cards

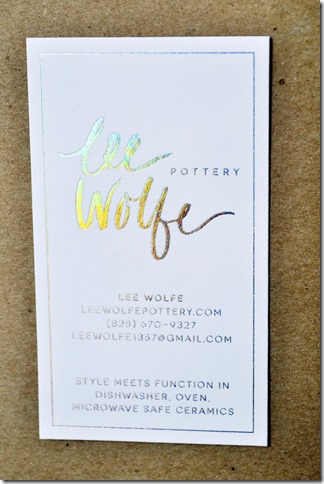
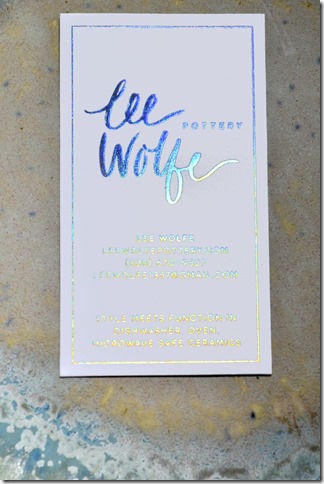
I never had a professional business card – until now! This was designed by Eva Black Design, and printed by Mama’s Sauce, who spent considerable time hunting down the holographic ink. The cards change color as light passes over them. It’s soooo cool. It’s so me! Eva took into account my ceramic work, my commitment to organic shapes and the Handmade Movement, and my unique sense of style. The hand lettered logo on my website was chosen from several initial designs. I wanted something a step bolder for the cards. On Pinterest I found the holographic ink, which was used with very blocky type on black by an Italian artist. Eva made it work on white letterpress with my new brushstoke logo. Here are some photos- not as great as the cards because the beauty is in the fiery rainbow that shoots off the type as you move the cards, but it gives you an idea. Hiring a logo and branding designer helped me understand my own unique point of view. I’m going to feel very good about sending these cards out with future purchases. Hopefully buyers will be enchanted with the movement of light across the type, and keep the card. That little spark of magic is what I live for; where my work originates, where it might take you if you let your free spirited heart be swayed.

bus card 1

 bus card 6

Monday, July 15, 2013

Fine Artisan Ceramics vs DIY

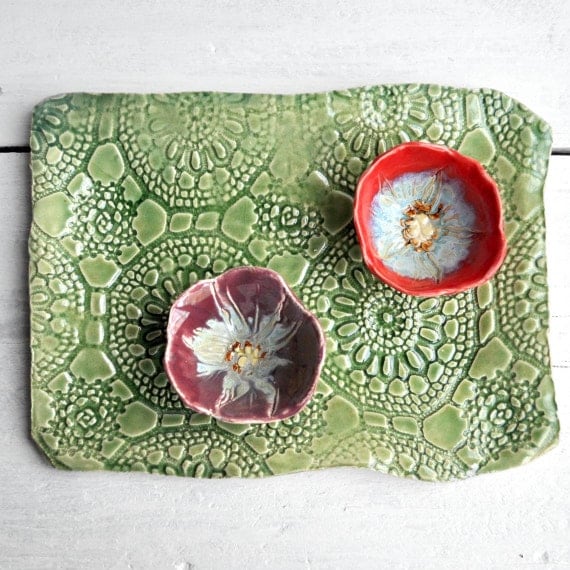
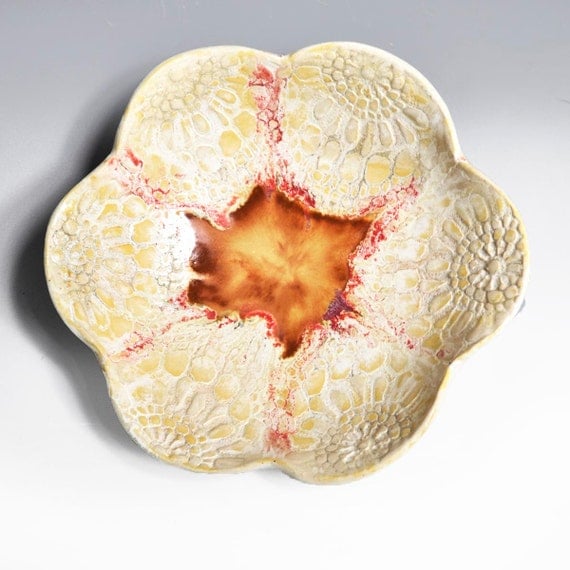
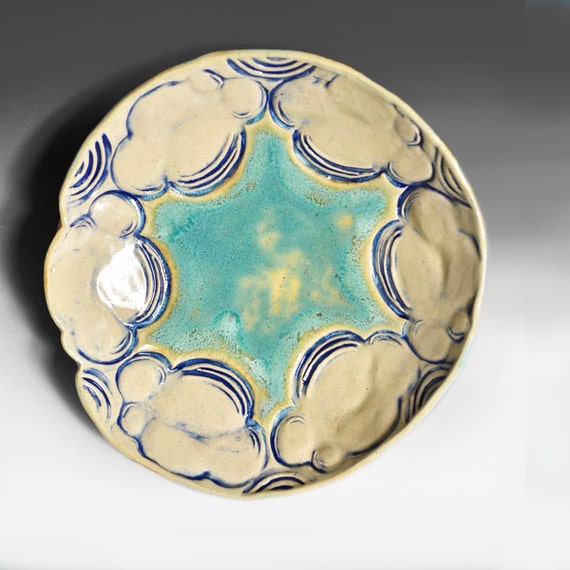
I listed this platter on my website and then pinned it on Pinterest .

Where it soon acquired this comment:

@ Savannah Hall cool idea to incorporate lace to make pattern in pottery when you make it.

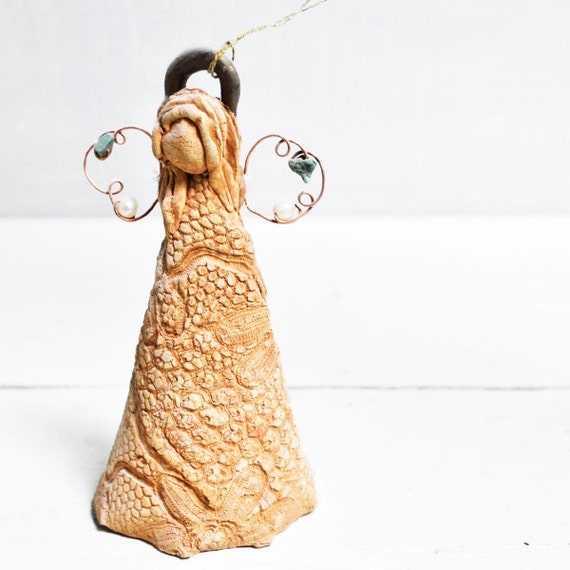
One of the dilemmas we’ve all encountered as artisans is the perception that images of our works for sale are also DIY projects that any beginner could easily achieve. When, in reality, this piece has been in design production for years. It has evolved out of pressing lace in clay, such as in these ornaments That I made for Grovewood Gallery from 1996-2009

In 2010, I helped my daughter design this tray:


and here in one of my own from 2011

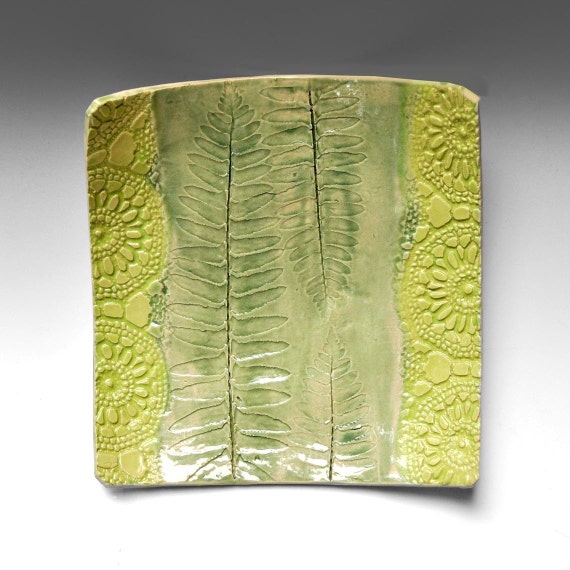
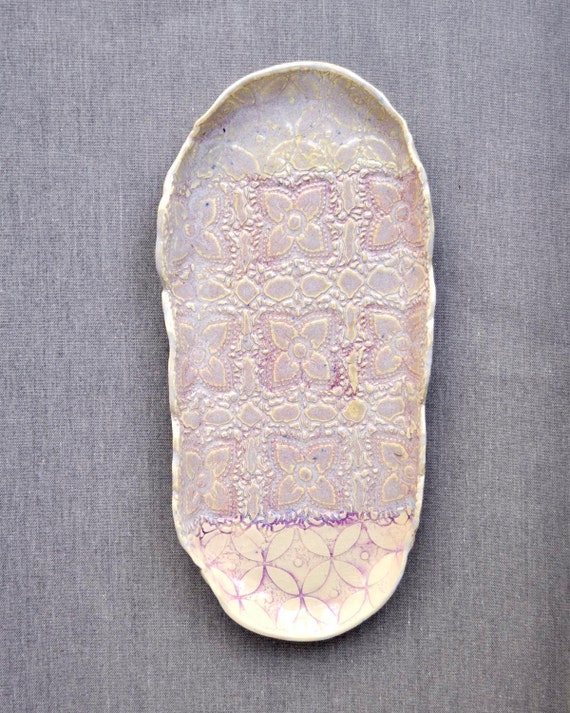
By 2012 I was partially obsessed with lace trays, with organic shapes. Here are a few:


And here are the lesser quality pieces from the same kiln load; all experiments done on the same day:

and a similar piece:

I want to encourage everyone to play around with clay, as it is a lot of fun. I do, however, want to dispel the impression that what I do is so low-skill and easily replicated that anyone in Ceramics 101 can whip them out. The work on my website represents countless design tweaks.

So here is the reply I posted on my Pinterest Pin:

It's an easy technique, but don't expect to get results like this in your first 1,000 tries!

Thursday, July 4, 2013

Gluten Free Strawberry Shortcake!

_DSC4499

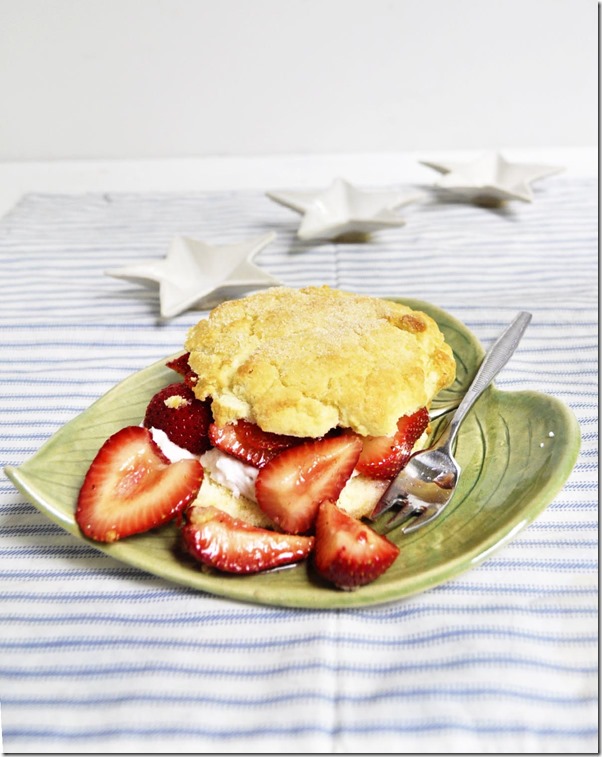
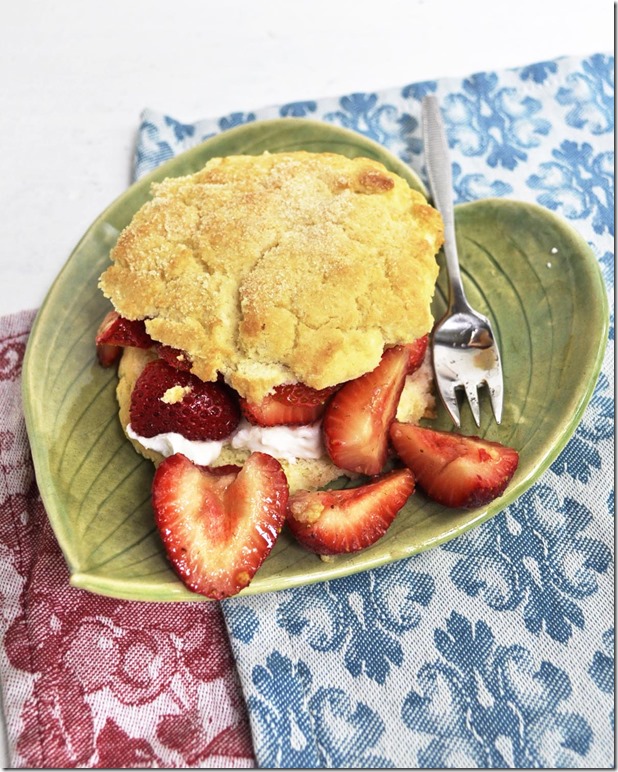
My family loves strawberry shortcake as a Fourth of July dessert. This year I made it gluten free with a dairy free topping. I made a few tests and tweaked it until we all agree that this is the best ever! I used Betty Crocker’s gluten free Bisquick mix, making slight alterations. Here is mine:

_DSC4505

Ingredients:

1 qt fresh strawberries, stems removed, sliced

1/2 C course organic sugar (plus more for dusting)

2 1/2 C gluten free Bisquick mix

1/3 C butter

3/4 C milk

3 eggs, beaten

1/2 tsp vanilla

1 15 oz can coconut milk, chilled

1 T powdered sugar

Add 1/4 C sugar to strawberries, set aside to masticate. Blend remaining 1/4 C sugar with Bisquick, then cut in butter with pastry blender. Add milk, eggs and vanilla, stir to blend. Divide into 6 round shortcake biscuits, place on buttered baking sheet. Sprinkle each with course sugar, about 1/4 tsp each. Bake at 425 for 12 min.

For topping, open coconut milk can and put the thick part only in a food processor. Add powdered sugar through the feed tube. This only take a few minutes, and is delicious!

To assemble: half biscuits and stuff with strawberries and whipped coconut milk. 

Happy Fourth of July!

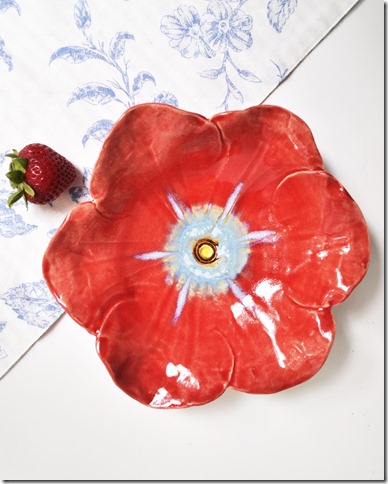
ice blue poppyred poppy 1

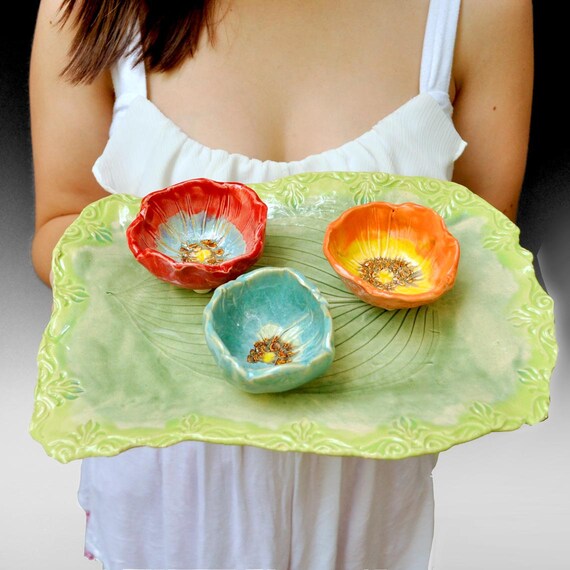
poppy bowls and leaf plates available from Lee Wolfe Pottery